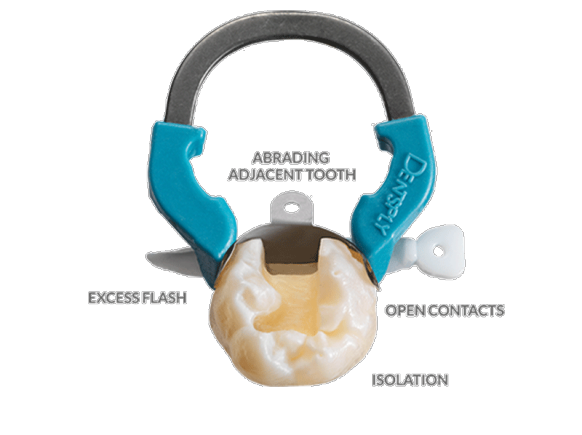
Achieving proper contact means that the tooth being treated tightly contacts the adjacent tooth at the middle third, and has a natural convex shape. An open or improperly contoured interproximal contact can result in a fracture as well as food impaction in the interproximal space, which can result in periodontal inflammation, bone loss and recurrent caries.
When using resin-based restorative materials, keeping blood and saliva out of the equation is critical for long-term clinical success. If the restorative field is contaminated with moisture, the physical properties and ultimate success of the restoration may be compromised.2 The key is to seal in and shape the Class II restoration quickly and effectively.
The flat surface of a traditional Tofflemire band may not adapt well to the proximal line angles or create a tight seal around the restorative field. This could lead to excess flash on the gingival and lingual surfaces, requiring more finishing time. Additionally, if the matrix moves during burnishing, the gingival seal may be compromised, increasing the likelihood of an overhang, requiring additional finishing.
Whether removing decay or existing restorative material, avoid damaging the adjacent tooth. This is especially challenging in the molar regions, and even more so on maxillary molars. In fact, studies have shown that in 70% or more of Class II restorations, the clinician nicks the adjacent tooth with a bur during prep. When the bur nicks the adjacent tooth, it roughens the tooth surface and creates an area for bacteria to collect more easily and form caries.3
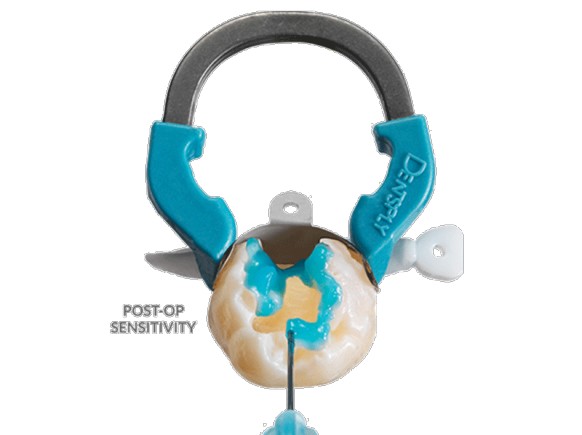
15 seconds is the maximum time dentin should be exposed to etchant.4
Adhesive application technique should vary depending on the substrate you’re trying to bond to. Class II preparations extend into dentin, but often have enamel margins as well. Using a selective etching technique with a universal adhesive allows etching of the enamel while reducing the chance of post-op sensitivity by not placing phosphoric acid on dentin.
When selective etching, it’s important to use an etchant with a viscosity that allows the material to stay on the enamel and avoid contact with dentin to minimize the risk of post-op sensitivity.
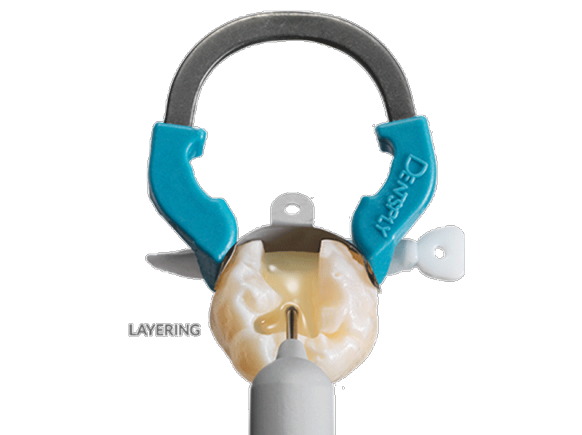
82% of dentists report using a flowable as a liner in Class II restorations to increase marginal adaptation.5
A 6mm proximal box can require up to four layers of material and light curing for each layer placed. Using a bulk fill flowable with excellent cavity adaptation ensures material reaches the corners of the proximal box.
Many lights deliver less than 35% of their stated output to the floor of a Class II proximal box.6
When the proximal box is over 6mm deep, dentists often find themselves guessing if the adhesive and composite have been sufficiently cured. Be sure the curing light cures to clinically relevant distances versus higher output power.
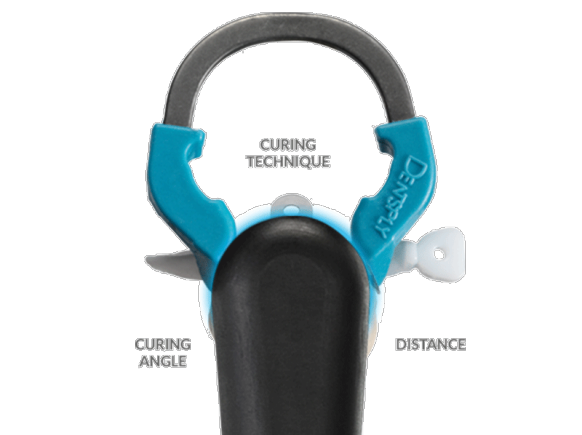
In a recent study using new curing lights to test the ability of dental professionals to deliver energy to simulated restorations, there was a 10x difference in energy delivery between the best and worst operator.7 The variable is technique! Choosing a curing light with a lightweight, ergonomic design for stable positioning and simple controls for consistency of use across operators may help reduce the opportunity for technique variability.
The light guide tip should be as close as possible and flat against the restorative surface to have the best chance of directing light to all corners of the proximal box. Angled light guides can make it difficult to keep the surface of the light tip flat at the restoration, especially in the posterior, where 74% of direct restorations are performed. 8,9 Pen-style lights make it easier to maintain the proper curing angle when space is an issue—such as the back of the mouth, and in geriatric and pediatric cases.
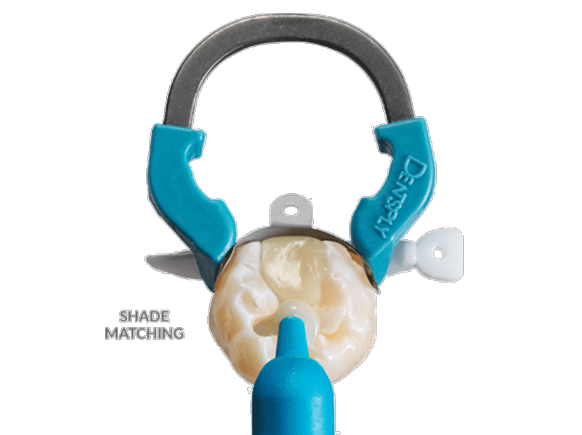
More than 80% of patients are reportedly aware of color differences between restored and adjacent natural teeth.10
Shade matching to the adjacent tooth can be a challenge. Choose a composite material with a chameleon blending ability to ensure the esthetics of the final restoration are not compromised even if the shade match is not perfect.
Always determine the shade(s) needed for the restoration prior to tooth preparation, comparing against a wet tooth. A dehydrated tooth can change as much as 6 shades if under rubber dam isolation for 60 minutes.11
Compare tooth color to the shade guide using various types of incident light (natural light, examination light, room light, etc.). Observing the same material/object under different light conditions can alter the perceived color in some materials–this phenomenon, metamerism, results in a shade looking different due to differences in how the type of light is absorbed and reflected from the material.12
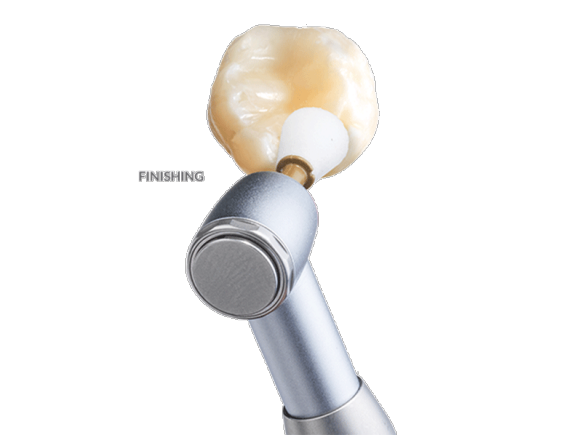
On average, finishing and polishing represents 14% of total chair time for a Class II procedure.13
A smooth surface finish minimizes the presence of surface irregularities that can lead to plaque retention, staining, gingival irritation, recurrent caries, and tactile perception by the patient. Therefore, clinicians can potentially increase the longevity of their Class II restorations with proper finishing technique.14


Want to know more about our Restorative Products?
Submit your contact details and one of our restorative specialists will get in touch with you soon.
1. Dentaltown (2012). Restorative Dentistry. Monthly Poll: What is the most challenging part of a Class II restoration
2. Gilbert GH, Litaker MS, Pihlstrom DJ, Amundson CW, Gordan VV. Rubber dam use during routine operative dentistry procedures: findings from The Dental PBRN. Oper Dent 2010;35(5):491-9.
3. Christensen, Gordon J (2012). Protecting the Adjacent Tooth. Clinician’s Report – Volume 5 Issue 11.
4. Am J Dent (2010). Dec, 23 (6): 335-40.
5. Council on Scientific Affairs of the American Dental Association. Spring 2009;4(2).
6. Irradiance Value Comparison among commercially available curing lights. BlueLight Analytics. (2012)
7. Price and Felix IADR 2010 Barcelona #467 Quantifying Light Energy Delivered to a Class I Restoration
8. Price R., Felix C., (2010). Factors Affecting the Energy Delivered to Simulated Class I and Class V Preparations. JCDA Applied Research.
9. American Dental Association Procedure Recap Report (2006).
10. Joiner A. Tooth Color: A Review of the Literature. J Dent. 2004; 32:3-12
11. Haywood, Van (2009). In-Office Bleaching: Lights, Applications, and Outcomes.
12. Lowe Robert A. (2010). Composite Restorations: Subtleties in Shade and Technique.
13. Dentsply Sirona Procedure Timing Breakdown Study. Data on file.
14. Christensen, G J. (2014). Simplifying your Class II Composite Finishing Technique. Clinicians Report, Volume 7 Issue 4.